  |
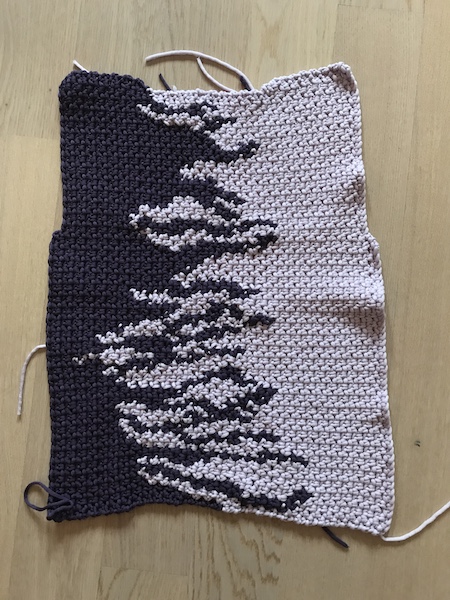 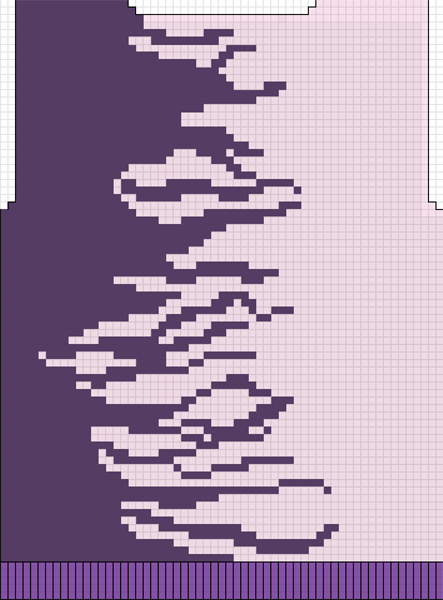 |
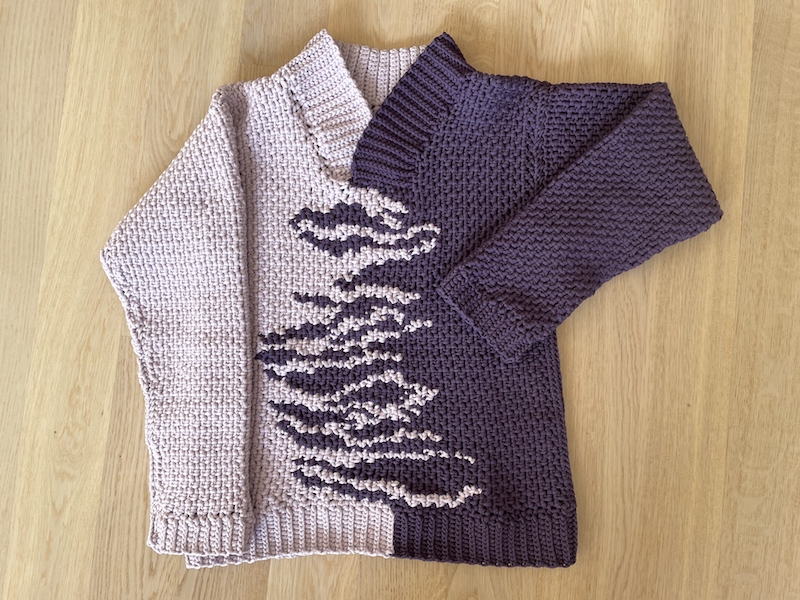
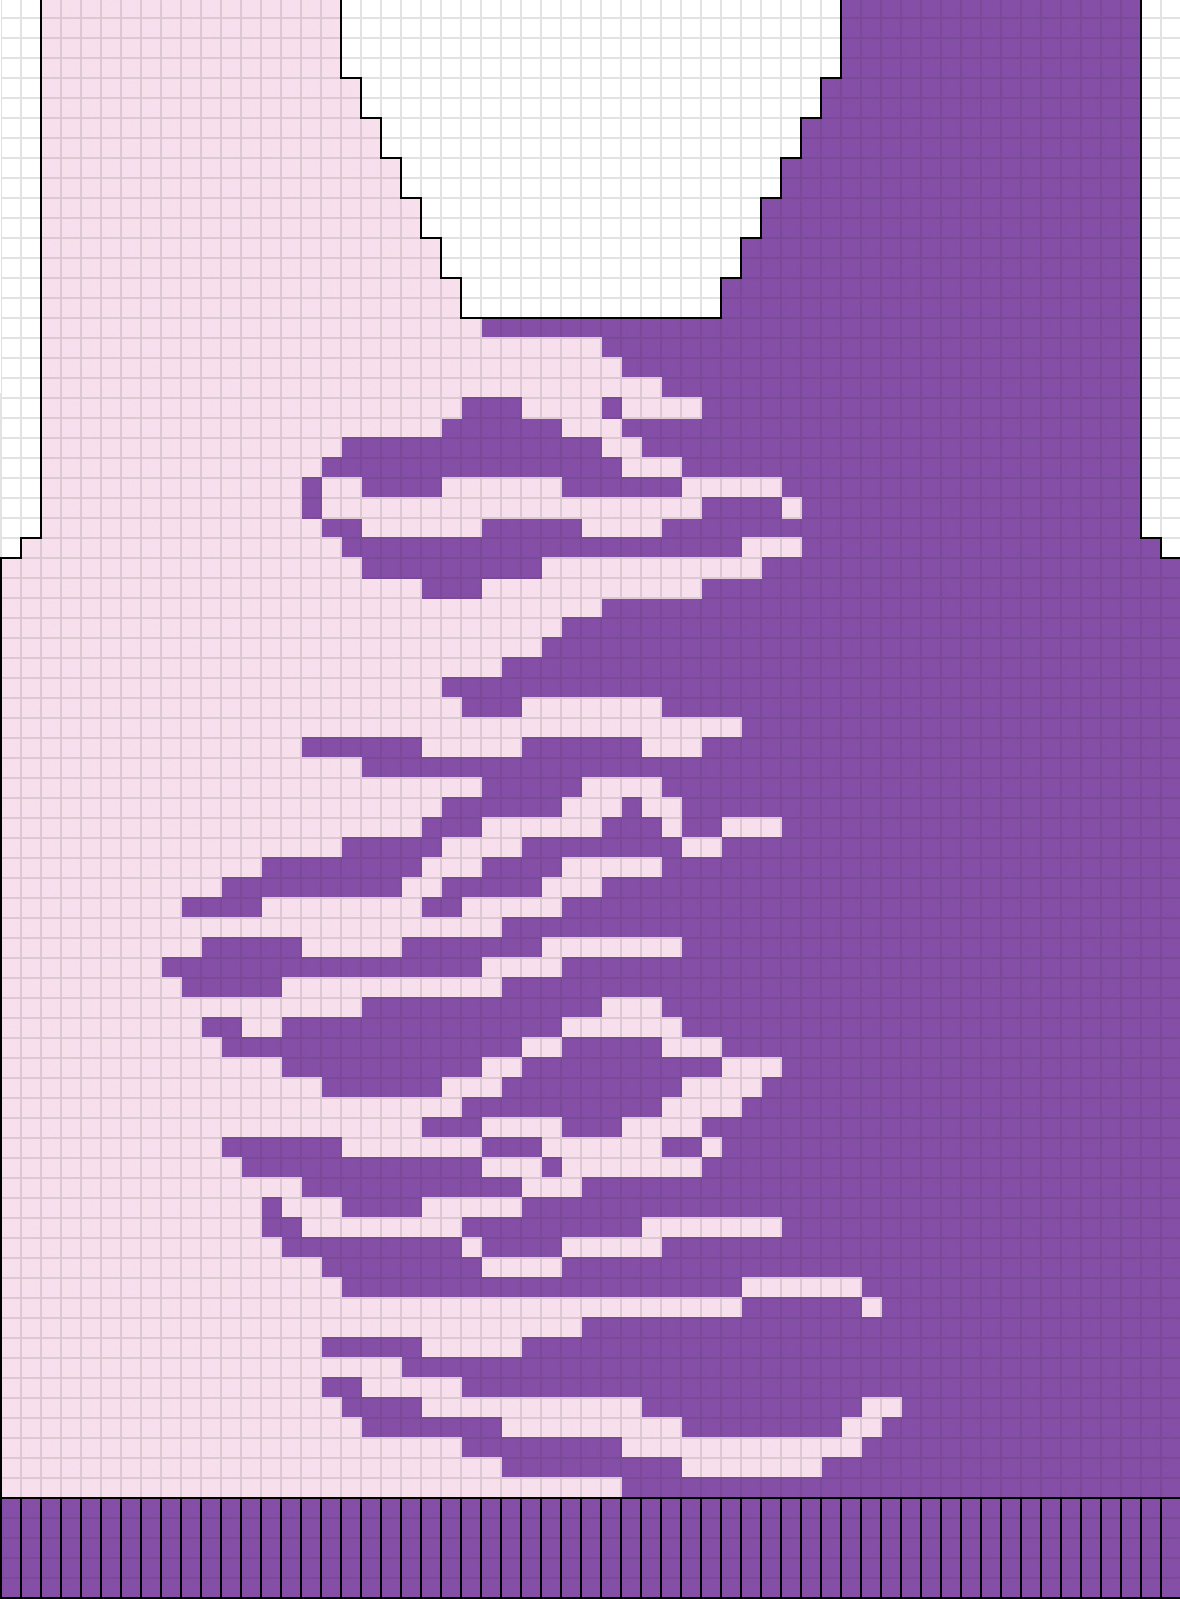
This time, I wanted to make a tighter pattern than the last sweater. That's why I chose the moss stitch. Mrs. Geisler from Onza per Onza had the great idea to rotate the pattern by 90 degrees, so instead of crocheting from bottom to top, it is now crocheted from left to right. The colors are a dark lilac and a very light version. To make life even harder for myself, I decided on a "flame" pattern and draw it with Excel. Onza per Onza (stitch by stitch) is the right mindset for this project: I have never in my life had to undo so many stitches because I counted wrong!
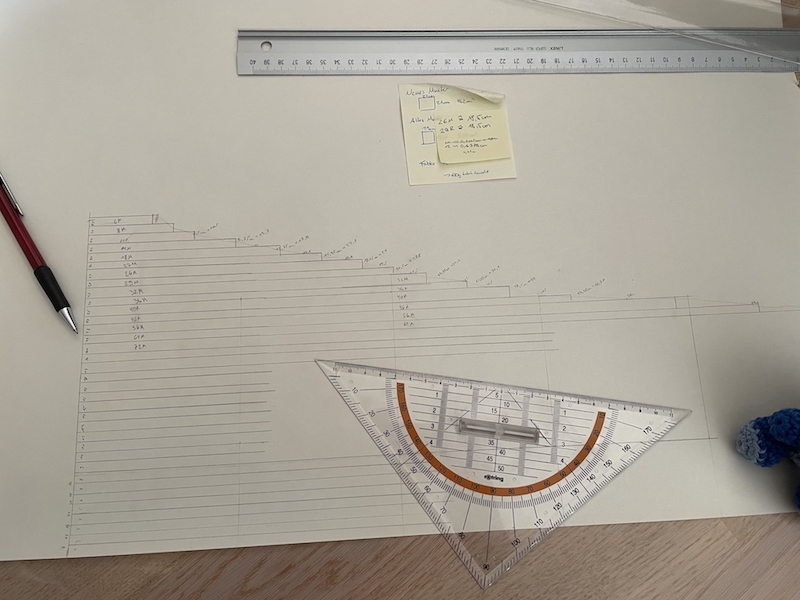
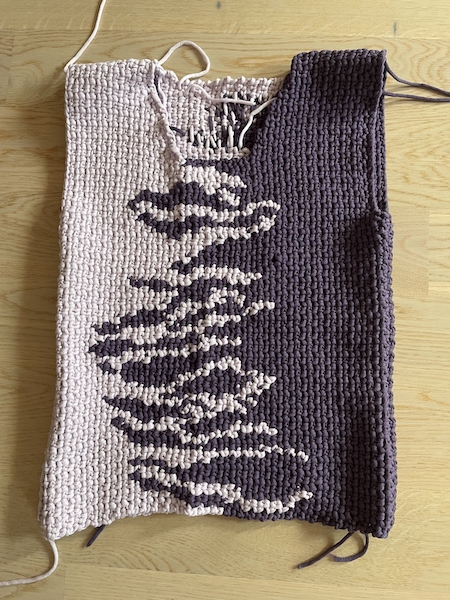
And if I thought the body part of the sweater was difficult, I should have thought about the sleeves! In principle, not more difficult than the rest of the sweater, but finding out how many stitches per row are necessary ... Normally, I attach the sleeves directly to the "body" and can try it on very often until the decreases are ideal. However, if you crochet at 90 degrees, that is no longer possible. Fortunately, I have already crocheted a similar sweater. So I "just" took this as a template and transferred it to a large piece of paper. Then I drew the rows as realistically as possible and thus determined the length of each row. Then only a small calculation was necessary to determine the respective stitches per row. Finally, I added the template to my worksheet, making it easier for me to crochet.
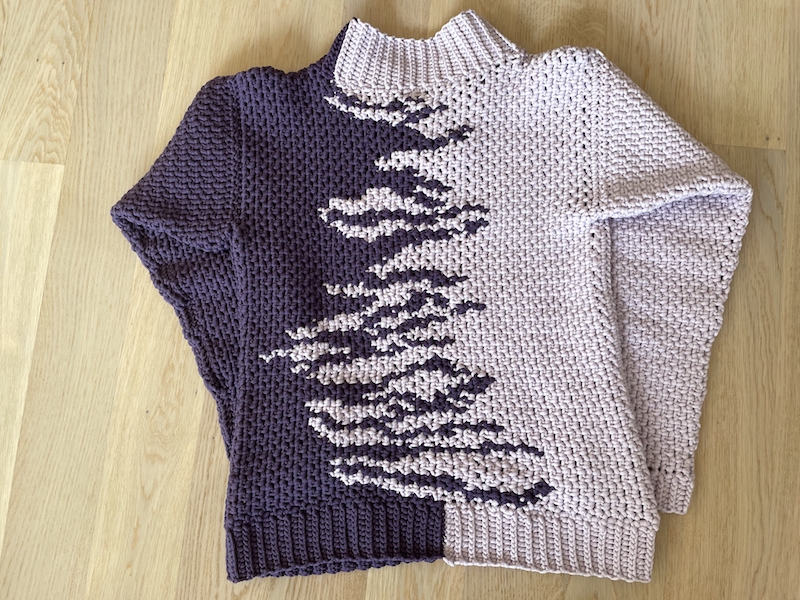
The sweater is finally finished and I am in love with it! At first, I was afraid that I would not be able to make a nice neckline and that the whole work would be destroyed, but no, the neckline is the perfect finish. In addition, it fits me perfectly and protects the back of my neck from cold drafts - ideal for winter!