

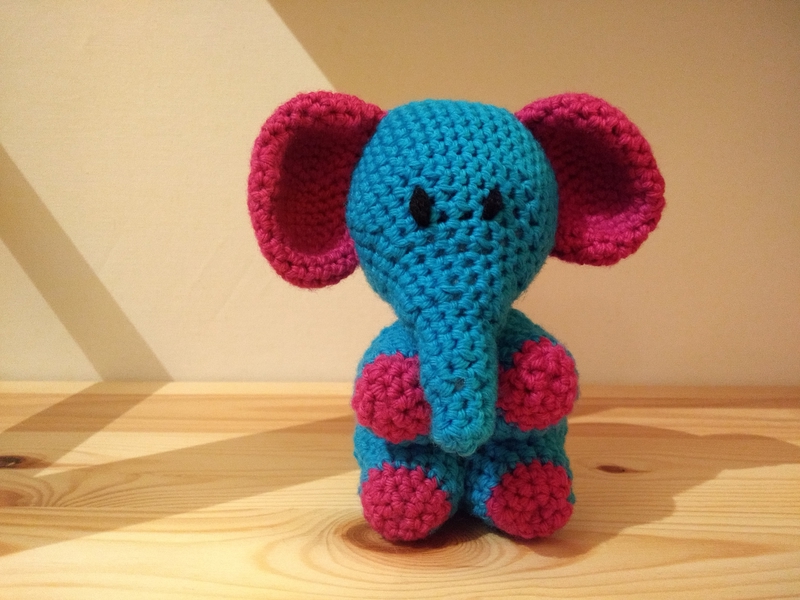


The cute elephant "Mo" is the second animal pattern that I crocheted from Hoooked. In my opinion, this pattern was easier than the one for the zebra "Zizi". By crocheting the legs together and attaching the body directly onto them, the sewing together process is much less complicated - only the head needs to be sewn on.
The little heart in his arms is an addition of mine and the pattern can be found here.
Reading & Understanding
The instructions were mostly easy to understand. One thing that made me smile reading the German instruction was, that they used both phrases "into the next stitch" and "into the following stitch" - I'm not sure why it wasn't translated consistently.
Also, I would use a magic loop for all parts instead of a chain ring (or 2 ch to start).
Legs & Body
- In German, the instructions on how to crochet the legs together were difficult to understand. I used the English instructions instead and found them much easier to follow.
(If you switch to the German version of this blog post, I my own "instructions" how to do it.)
Small corrections to the instructions - nothing serious, but it could be confusing for beginners:
(I made this corrections for the German translation, I did not double check the English version.)
- For some reason, R4 and R5-6 were written separately, simplified would be R4-6.
| Original | Correction | |
| R2 | *2 sc in next 5 sts* repeat from * to * (=10). | *2 sc in next st* repeat from * to * (=10). |
| R10 | both rounds sc (=50). | one round sc (=50). |
Head & Trunk
| Original | Correction | |
| R2 | *2 sc in next 6 sts* repeat from * to * (=12). | *2 sc in next st* repeat from * to * (=12). |
Assembly
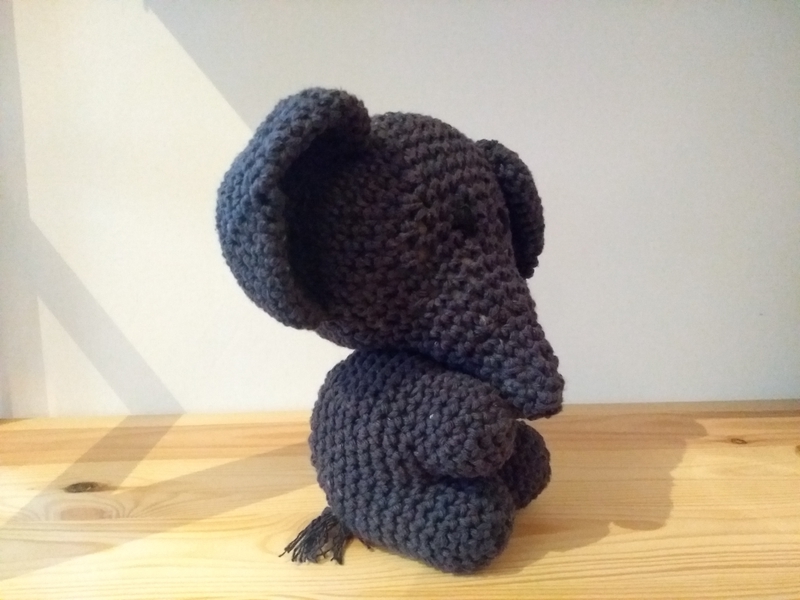
The instruction for assembling is similar to Zizi: Look at the pictures and do it the same way. Very informative, especially when there are only two photos from the front and the same perspective - and the instruction does not offer much space for large pictures with sufficient quality to count stitches. At least this time they pointed out that the trunk should touch the ground when standing upright. So the head was the easiest part. To get a better feel for the placement, I use locking stitch markers as always, which I can rearrange the pieces with until I'm happy. The following positions worked best:
 |
Eyes I embroidered the eyes from R16 to 18, with 3 free stitches in between. He looks a bit annoyed because I stitched both eyes with the same thread before stuffing the head. As a result, the black thread appears slightly visible on row 18... |
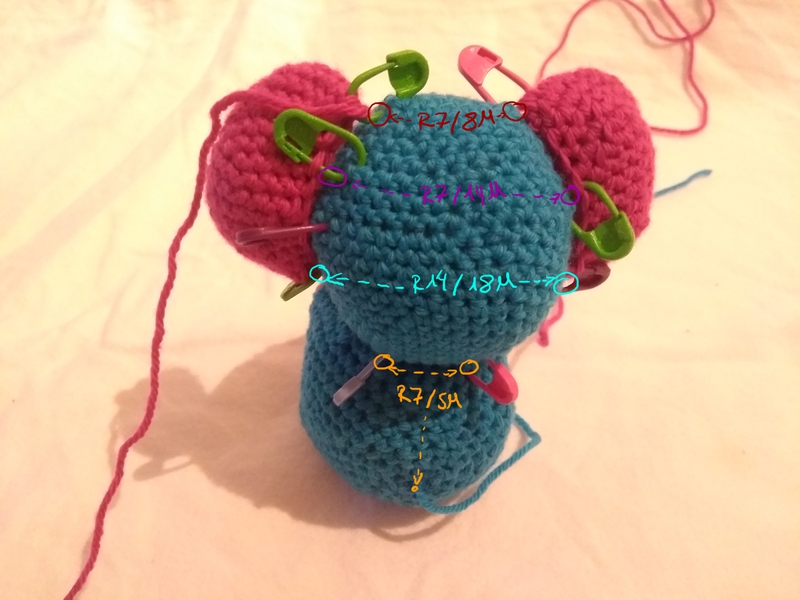 |
Ears The row numbers are counted from the starting point (magic loop) of the head. The top starting point is on R7, with 8 free stitches in between. From the front view, the ears sit at the highest point. Then, I set two more markers, slightly offset inward, again on R7 but with 14 free stitches in between. The lowest marker is on R14 with 18 free stitches between both sides.
Neck The seam from the head to the body is flexible and depends on the length of the trunk. For my Mo, a good starting point was the seventh row from the end of the back, plus an additional 5 stitches in one row. After that, it went "around" the head. |